Debian 11에 Bugzilla 버그 추적기를 설치하는 방법
이 페이지에서
- 전제 조건
- 필수 종속성 설치\n
- Apache 및 MariaDB 설치
- MariaDB 데이터베이스 구성
- Bugzilla 설치 및 구성
- Bugzilla용 Apache 구성
- Bugzilla 웹 인터페이스 액세스
- 결론
Bugzilla는 버그를 추적하고 조직의 개발자 및 다른 팀과 협업할 수 있는 무료 오픈 소스 버그 추적 시스템입니다. 제품의 버그, 문제 및 기타 변경 요청을 효과적으로 추적하는 데 도움이 됩니다. 강력한 기능으로 인해 전 세계 수천 개의 조직에서 채택했습니다. Perl로 작성되었으며 MySQL/MariaDB를 데이터베이스 백엔드로 사용합니다.
이 글에서는 Debian 11에 Bugzilla를 설치하는 방법을 설명하겠습니다.
전제 조건
- Debian 11을 실행하는 서버.\n
- 서버 IP를 가리키는 유효한 도메인 이름입니다.\n
- 서버에 루트 암호가 구성되어 있습니다.\n
필수 종속성 설치
먼저 다음 명령을 사용하여 모든 시스템 패키지를 업데이트된 버전으로 업데이트합니다.
apt-get update -y
다음으로 다음 명령을 사용하여 필요한 Perl 모듈을 모두 설치합니다.
apt-get install build-essential libdatetime-timezone-perl libappconfig-perl libdate-calc-perl libtemplate-perl libmime-tools-perl libdatetime-perl libemail-sender-perl libemail-mime-perl libemail-mime-perl libdbi-perl libdbd-mysql-perl libcgi-pm-perl libmath-random-isaac-perl libmath-random-isaac-xs-perl libapache2-mod-perl2 libapache2-mod-perl2-dev libchart-perl libxml-perl libxml-twig-perl perlmagick libgd-graph-perl libtemplate-plugin-gd-perl libsoap-lite-perl libhtml-scrubber-perl libjson-rpc-perl libdaemon-generic-perl libtheschwartz-perl libtest-taint-perl libauthen-radius-perl libhtml-formattext-withlinks-perl libgd-dev graphviz sphinx-common rst2pdf libemail-address-perl libemail-reply-perl libfile-slurp-perl libencode-detect-perl libmodule-build-perl libnet-ldap-perl libfile-which-perl libauthen-sasl-perl libfile-mimeinfo-perl -y
완료되면 다음 단계로 진행할 수 있습니다.
Apache 및 MariaDB 설치
다음으로 다음 명령을 실행하여 Apache 및 MariaDB 데이터베이스 서버를 설치합니다.
apt-get install apache2 mariadb-server mariadb-client -y
두 패키지가 모두 설치되면 다음 명령을 사용하여 Apache 및 MariaDB 서비스를 시작합니다.
systemctl start apache2
systemctl start mariadb
완료되면 다음 단계로 진행할 수 있습니다.
MariaDB 데이터베이스 구성
다음으로 Bugzilla용 데이터베이스와 사용자를 생성해야 합니다.
먼저 아래 명령을 사용하여 MariaDB 셸에 로그인합니다.
mysql
로그인한 후 다음 명령을 사용하여 데이터베이스와 사용자를 생성합니다.
MariaDB [(none)]> CREATE DATABASE bugzilla;
MariaDB [(none)]> CREATE USER 'buguser'@'localhost' IDENTIFIED BY 'password';
다음으로 다음 명령을 사용하여 Bugzilla 데이터베이스에 대한 모든 권한을 부여합니다.
MariaDB [(none)]> GRANT ALL PRIVILEGES ON bugzilla.* TO 'buguser'@'localhost';
다음으로 다음 명령을 사용하여 권한을 플러시하고 MariaDB 셸을 종료합니다.
MariaDB [(none)]> FLUSH PRIVILEGES;
MariaDB [(none)]> EXIT;
다음으로 MariaDB 기본 구성 파일을 편집하고 일부 구성을 조정합니다.
nano /etc/mysql/mariadb.conf.d/50-server.cnf
[mysqld] 안에 다음 줄을 추가합니다.
max_allowed_packet=16M
ft_min_word_len=2
파일을 저장하고 닫고 MariaDB 서비스를 다시 시작하여 변경 사항을 적용합니다.
systemctl restart mariadb
Bugzilla 설치 및 구성
먼저 다음 명령을 사용하여 최신 버전의 Bugzilla를 다운로드합니다.
wget https://ftp.mozilla.org/pub/mozilla.org/webtools/bugzilla-5.0.6.tar.gz
다운로드가 완료되면 Bugzilla용 디렉토리를 만들고 다운로드한 파일을 Bugzilla 디렉토리에 추출합니다.
mkdir /var/www/html/bugzilla
tar xf bugzilla-5.0.6.tar.gz -C /var/www/html/bugzilla --strip-components=1
다음으로 Bugzilla 디렉토리 내부의 localconfig 파일을 편집합니다.
cd /var/www/html/bugzilla
nano localconfig
다음과 같이 변경합니다.
$create_htaccess = 1;
$webservergroup = 'www-data';
$use_suexec = 1;
$db_driver = 'mysql';
$db_host = 'localhost';
$db_name = 'bugzilla';
$db_user = 'buguser';
$db_pass = 'password';
파일을 저장하고 닫은 후 다음 명령을 실행하여 Bugzilla를 설정합니다.
./checksetup.pl
Enter the e-mail address of the administrator:
Enter the real name of the administrator: Hitesh Jethva
Enter a password for the administrator account:
Please retype the password to verify:
 is now set up as an administrator.
Creating initial dummy product 'TestProduct'...

Now that you have installed Bugzilla, you should visit the 'Parameters'
page (linked in the footer of the Administrator account) to ensure it
is set up as you wish - this includes setting the 'urlbase' option to
the correct URL.
checksetup.pl complete.
다음으로 다음 명령을 실행하여 필요한 모든 Perl 모듈을 설치합니다.
/usr/bin/perl install-module.pl --all
다음으로 Bugzilla 디렉토리의 소유권을 www-data로 변경합니다.
chown -R www-data:www-data /var/www/html/bugzilla/
다음으로 다음 명령을 사용하여 Bugzilla 설정을 확인합니다.
./checksetup.pl
모든 것이 정상이면 다음과 같은 결과가 표시됩니다.
* APACHE MODULES                                                      *
***********************************************************************
* Some Apache modules allow to extend Bugzilla functionalities.       *
* These modules can be enabled in the Apache configuration file       *
* (usually called httpd.conf or apache2.conf).                        *
* - mod_headers, mod_env and mod_expires permit to automatically      *
*   refresh the browser cache of your users when upgrading Bugzilla.  *
* - mod_rewrite permits to write shorter URLs used by the REST API.   *
* - mod_version permits to write rules in .htaccess specific to       *
*   Apache 2.2 or 2.4.                                                *
* The modules you need to enable are:                                 *
*                                                                     *
*    mod_expires, mod_headers, mod_rewrite                            *
*                                                                     *
***********************************************************************
Reading ./localconfig...

OPTIONAL NOTE: If you want to be able to use the 'difference between two
patches' feature of Bugzilla (which requires the PatchReader Perl module
as well), you should install patchutils from:

    http://cyberelk.net/tim/software/patchutils/

Checking for            DBD-mysql (v4.001)    ok: found v4.050
Checking for                MySQL (v5.0.15)   ok: found v10.5.12-MariaDB-0+deb11u1

Removing existing compiled templates...
Precompiling templates...done.
Fixing file permissions...

Now that you have installed Bugzilla, you should visit the 'Parameters'
page (linked in the footer of the Administrator account) to ensure it
is set up as you wish - this includes setting the 'urlbase' option to
the correct URL.
checksetup.pl complete.
완료되면 다음 단계로 진행할 수 있습니다.
Bugzilla용 Apache 구성
다음으로 Bugzilla용 Apache 가상 호스트 구성 파일을 만들어야 합니다.
nano /etc/apache2/sites-available/bugzilla.conf
다음 줄을 추가합니다.
<VirtualHost *:80>
ServerName bugzilla.example.com
DocumentRoot /var/www/html/bugzilla/

<Directory /var/www/html/bugzilla/>
AddHandler cgi-script .cgi
Options +Indexes +ExecCGI
DirectoryIndex index.cgi
AllowOverride Limit FileInfo Indexes Options AuthConfig
</Directory>

ErrorLog /var/log/apache2/bugzilla.error_log
CustomLog /var/log/apache2/bugzilla.access_log common
</VirtualHost>
파일을 저장하고 닫은 다음 Bugzilla 가상 호스트를 활성화하고 다음 명령을 사용하여 필요한 다른 모듈을 활성화합니다.
a2ensite bugzilla.conf
a2enmod headers env rewrite expires cgi
그런 다음 Apache 서비스를 다시 시작하여 구성 변경 사항을 적용합니다.
systemctl restart apache2
다음 명령을 사용하여 Apache의 상태를 확인할 수 있습니다.
systemctl status apache2
다음과 같은 결과가 표시됩니다.
? apache2.service - The Apache HTTP Server
     Loaded: loaded (/lib/systemd/system/apache2.service; enabled; vendor preset: enabled)
     Active: active (running) since Sun 2021-12-19 08:57:08 UTC; 7s ago
       Docs: https://httpd.apache.org/docs/2.4/
    Process: 43005 ExecStart=/usr/sbin/apachectl start (code=exited, status=0/SUCCESS)
   Main PID: 43011 (apache2)
      Tasks: 56 (limit: 4679)
     Memory: 13.5M
        CPU: 46ms
     CGroup: /system.slice/apache2.service
             ??43011 /usr/sbin/apache2 -k start
             ??43012 /usr/sbin/apache2 -k start
             ??43013 /usr/sbin/apache2 -k start
             ??43014 /usr/sbin/apache2 -k start

Dec 19 08:57:08 taiga systemd[1]: Starting The Apache HTTP Server...
완료되면 다음 단계로 진행할 수 있습니다.
Bugzilla 웹 인터페이스에 액세스
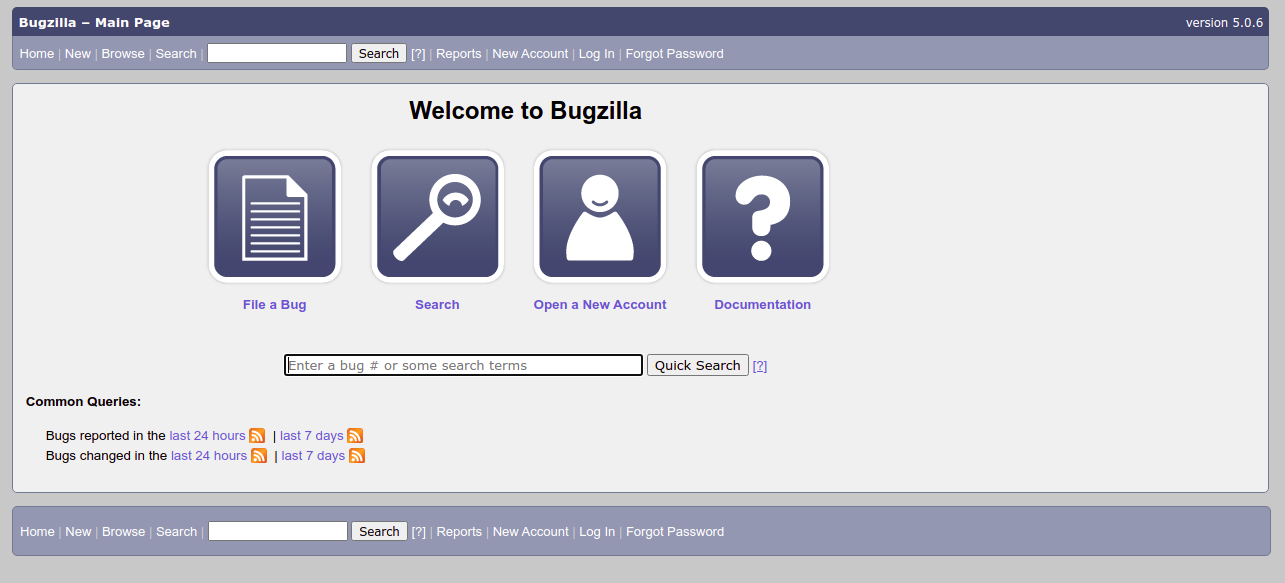
이제 웹 브라우저를 열고 URL http://bugzilla.example.com을 사용하여 Bugzilla 웹 인터페이스에 액세스하십시오. 다음 화면이 표시됩니다.
로그인 버튼을 클릭합니다. 다음 화면이 표시됩니다.
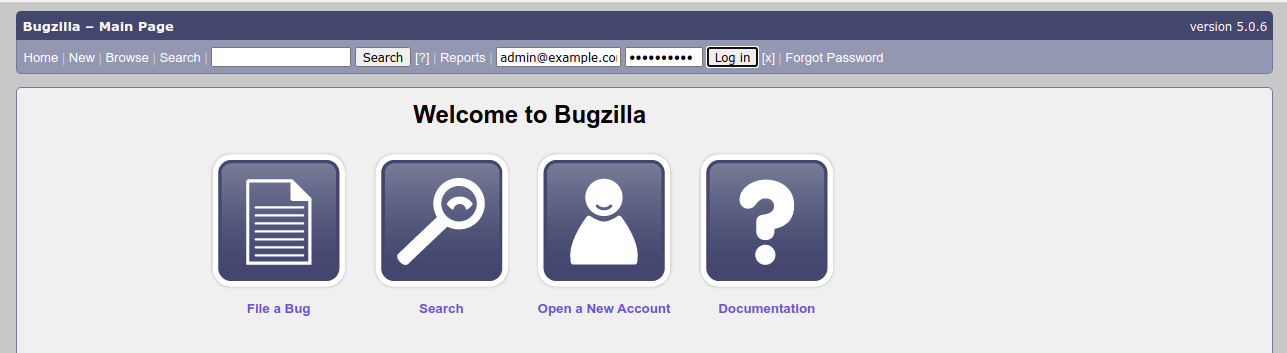
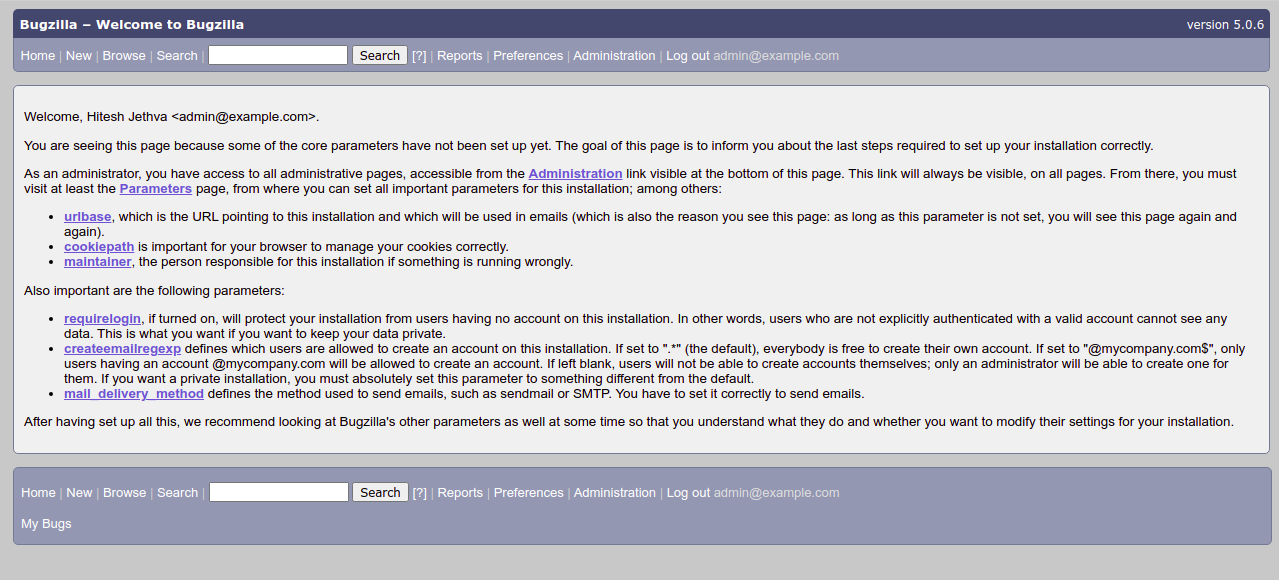
관리자 이메일, 비밀번호를 제공하고 로그인 버튼을 클릭합니다. 다음 화면에 Bugzilla 대시보드가 표시되어야 합니다.
결론
축하합니다! Debian 11에서 Apache와 함께 Bugzilla를 성공적으로 설치했습니다. 이제 개발 환경에서 Bugzilla를 구현하여 프로젝트를 관리하고 추적할 수 있습니다. 궁금한 점이 있으면 언제든지 문의해 주세요.