Debian 및 Ubuntu에 Ngx_Pagespeed(속도 최적화)를 사용하여 Nginx 설치
지난 기사에서는 CentOS 7에서 Ngx_Pagespeed를 사용하여 Nginx 성능을 높이는 방법을 보여주었습니다. 이 튜토리얼에서는 Nginx 웹 사이트의 성능을 향상시키기 위해 Debian 및 Ubuntu 시스템에 ngx_pagespeed를 사용하여 Nginx를 설치하는 방법을 설명합니다.
Nginx [엔진 x]는 웹의 많은 사이트를 지원하는 무료 오픈 소스 인기 HTTP 서버로, 고성능과 안정성으로 잘 알려져 있습니다. 또한 역방향 프록시, 일반 메일 및 TCP/UDP 프록시 서버로 작동하며 추가로 로드 밸런서로 배포할 수도 있습니다.
Ngx_pagespeed는 사이트 속도를 향상시키고 페이지 로드 시간을 줄이기 위한 무료 오픈 소스 Nginx 모듈입니다. 사용자가 사이트의 콘텐츠를 보고 상호 작용하는 데 걸리는 시간이 대폭 단축됩니다.
권장 읽기: Apache 서버 성능을 향상하려면 Mod_Pagespeed를 설치하세요.
Ngx_pagespeed 기능:
- URL 제어를 통한 HTTPS 지원.
- 이미지 최적화: 메타데이터 제거, 동적 크기 조정, 재압축.
- CSS 및 JavaScript 축소, 연결, 인라인 및 개요.
- 작은 리소스 인라인.
- 이미지 및 JavaScript 로딩을 연기합니다.
- HTML 재작성.
- 캐시 수명 연장.
- 여러 서버 및 기타 여러 서버에 대한 구성이 가능합니다.
1단계: 소스에서 Nginx 설치
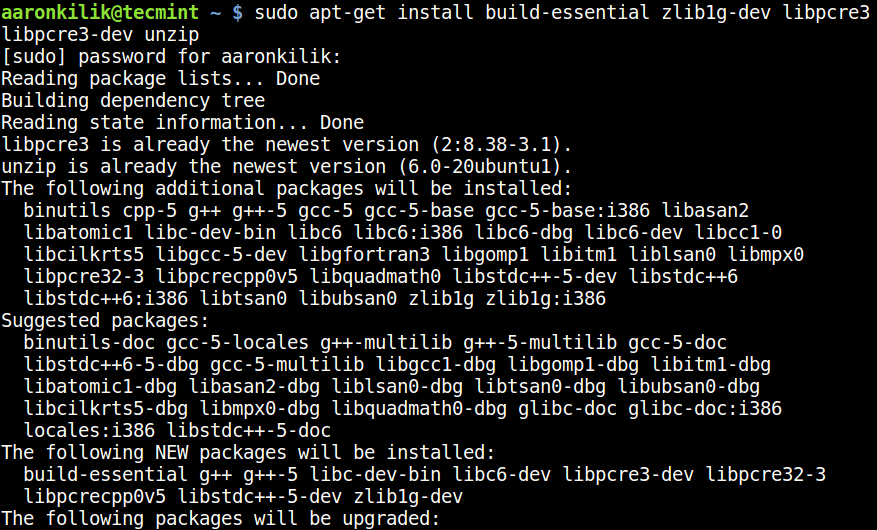
1. 소스에서 ngx_pagespeed로 Nginx를 설치하려면 시스템에 다음 패키지를 설치해야 합니다.
sudo apt-get install build-essential zlib1g-dev libpcre3 libpcre3-dev unzip
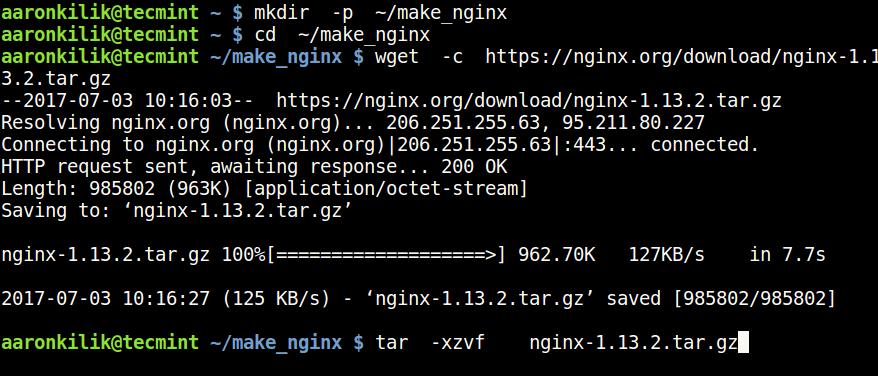
2. 다음으로 wget 명령을 사용하여 최신 버전의 Nginx(이 글 작성 당시 1.13.2)의 소스 파일을 다운로드하고 아래와 같이 파일을 추출합니다.
mkdir -p ~/make_nginx
cd ~/make_nginx
wget -c https://nginx.org/download/nginx-1.13.2.tar.gz
tar -xzvf nginx-1.13.2.tar.gz
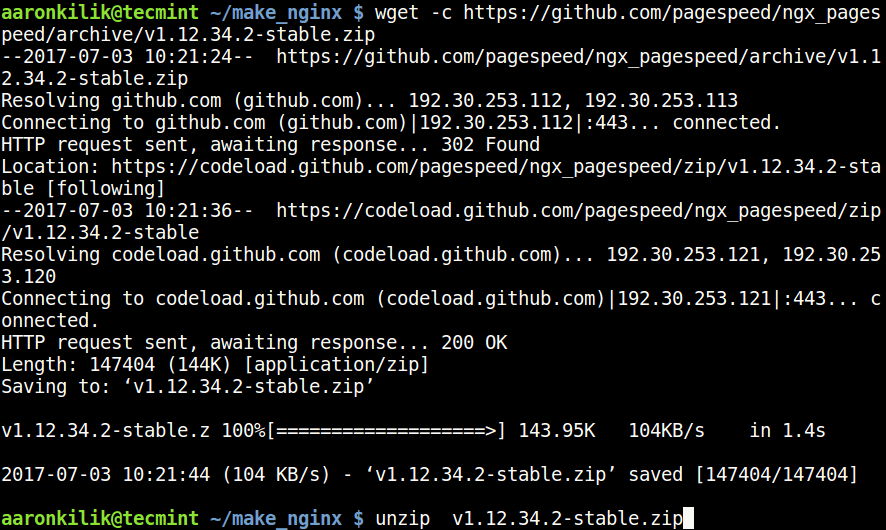
3. 다음으로 ngx_pagespeed 소스 파일을 가져와서 이와 같이 압축 파일의 압축을 풉니다.
wget -c https://github.com/pagespeed/ngx_pagespeed/archive/v1.12.34.2-stable.zip
unzip v1.12.34.2-stable.zip
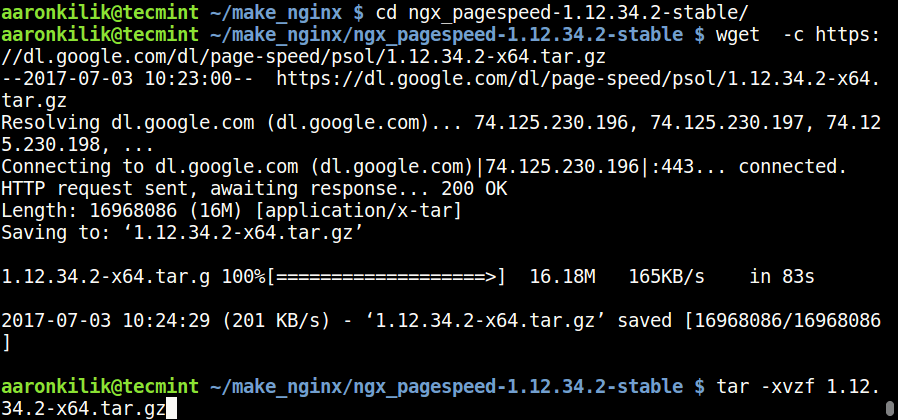
4. 그런 다음 압축을 푼 ngx_pagespeed 디렉토리로 이동하고 PageSpeed 최적화 라이브러리를 다운로드하여 다음과 같이 Nginx를 컴파일합니다.
cd ngx_pagespeed-1.12.34.2-stable/
wget -c https://dl.google.com/dl/page-speed/psol/1.12.34.2-x64.tar.gz
tar -xvzf 1.12.34.2-x64.tar.gz
2단계: Ngx_Pagespeed를 사용하여 Nginx 구성 및 컴파일
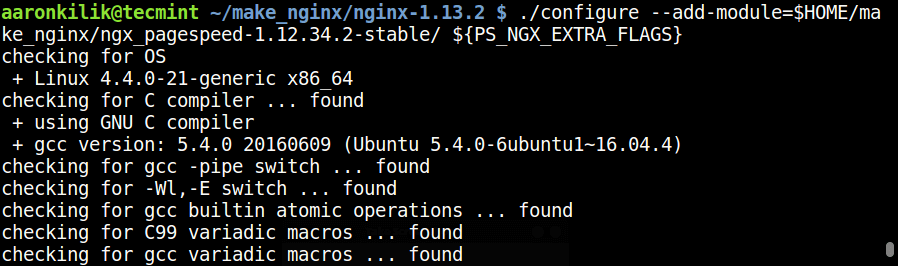
5. 다음으로 nginx-1.13.2 디렉터리로 이동하고 다음 명령을 사용하여 Nginx 소스를 구성합니다.
cd  ~/make_nginx/nginx-1.13.2
./configure --add-module=$HOME/make_nginx/ngx_pagespeed-1.12.34.2-stable/ ${PS_NGX_EXTRA_FLAGS}
6. 다음으로 Nginx를 다음과 같이 컴파일하고 설치합니다.
make
sudo make install

7. 설치 프로세스가 완료된 후 아래 명령을 실행하여 Nginx에 필요한 심볼릭 링크를 만듭니다.
sudo ln -s /usr/local/nginx/conf/ /etc/nginx
sudo ln -s /usr/local/nginx/sbin/nginx /usr/sbin/nginx
3단계: SystemD용 Nginx 유닛 파일 생성
8. 최신 버전의 Debian 및 Ubuntu 시스템에서는 systemd가 init 시스템이므로 여기에서는 Nginx 유닛 파일을 수동으로 생성해야 합니다.
먼저 /lib/systemd/system/nginx.service 파일을 만듭니다.
sudo vi /lib/systemd/system/nginx.service
그런 다음 NGINX 시스템 서비스 파일을 다운로드하고 단위 파일 구성을 파일에 붙여넣습니다.
[Unit]
Description=The NGINX HTTP and reverse proxy server
After=syslog.target network.target remote-fs.target nss-lookup.target

[Service]
Type=forking
PIDFile=/var/run/nginx.pid
ExecStartPre=/usr/sbin/nginx -t
ExecStart=/usr/sbin/nginx
ExecReload=/bin/kill -s HUP $MAINPID
ExecStop=/bin/kill -s QUIT $MAINPID
PrivateTmp=true

[Install]
WantedBy=multi-user.target
파일을 저장하고 닫습니다.
9. 이제 nginx 서비스를 일단 시작하고, 아래 명령어를 사용하여 시스템 부팅 시 시작되도록 활성화합니다.
sudo systemctl start nginx
sudo systemctl enable nginx
중요: Nginx 서비스를 시작한 후 아래 스크린샷과 같은 오류가 나타날 수 있습니다.
systemd[1]: nginx.service: PID file /run/nginx.pid not readable (yet?) after start: No such file or directory
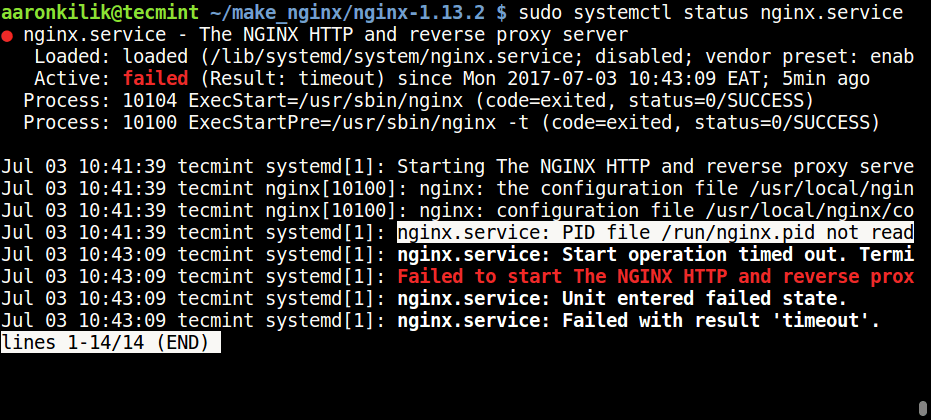
이 문제를 해결하려면 Nginx 구성 /etc/nginx/nginx.conf 파일을 열고 다음 줄을 추가하세요.
#pid  logs/nginx.pid;
to
pid  /run/nginx.pid;
마지막으로 nginx 서비스를 다시 시작하십시오.
sudo systemctl daemon-reload
sudo systemctl start nginx
sudo systemctl status nginx
4단계: Pagespeed 모듈로 Nginx 구성
10. 이제 Nginx가 시스템에 설치되어 실행되고 있으므로 Ngx_pagespeed 모듈을 활성화해야 합니다. 먼저 모듈이 웹 사이트용 파일을 캐시할 디렉터리를 만들고 다음과 같이 이 디렉터리에 대한 적절한 권한을 설정합니다.
sudo mkdir -p /var/ngx_pagespeed_cache
sudo chown -R nobody:nogroup /var/ngx_pagespeed_cache
11. Ngx_pagespeed 모듈을 활성화하려면 Nginx 구성 파일을 엽니다.
sudo vi /etc/nginx/nginx.conf
서버 블록 내에 다음 Ngx_pagespeed 구성 줄을 추가합니다.
Pagespeed main settings

pagespeed on;
pagespeed FileCachePath /var/ngx_pagespeed_cache;


Ensure requests for pagespeed optimized resources go to the pagespeed
handler and no extraneous headers get set.

location ~ "\.pagespeed\.([a-z]\.)?[a-z]{2}\.[^.]{10}\.[^.]+" { add_header "" ""; }
location ~ "^/ngx_pagespeed_static/" { }
location ~ "^/ngx_pagespeed_beacon" { }
참고: 서버에 nginx 가상 호스트를 배포한 경우 위의 pagespeed 지시어를 각 서버 블록에 추가하여 각 사이트에서 Ngx_pagespeed를 활성화하세요.
다음은 기본 가상 호스트에서 Ngx_pagespeed가 활성화된 Nginx 구성 파일의 작업 예입니다.
#user  nobody;
worker_processes  1;
#error_log  logs/error.log;
#error_log  logs/error.log  notice;
#error_log  logs/error.log  info;
pid   /run/nginx.pid;

events {
    worker_connections  1024;
}
http {
    include       mime.types;
    default_type  application/octet-stream;

    #log_format  main  '$remote_addr - $remote_user [$time_local] "$request" '
    #                  '$status $body_bytes_sent "$http_referer" '
    #                  '"$http_user_agent" "$http_x_forwarded_for"';
    #access_log  logs/access.log  main;
    sendfile        on;
    #tcp_nopush     on;
    #keepalive_timeout  0;
    keepalive_timeout  65;
    #gzip  on;
    server {
        listen       80;
        server_name  localhost;
        #charset koi8-r;
        #access_log  logs/host.access.log  main;
	# Pagespeed main settings
	pagespeed on;
	pagespeed FileCachePath /var/ngx_pagespeed_cache;
	# Ensure requests for pagespeed optimized resources go to the pagespeed
	# handler and no extraneous headers get set.
	location ~ "\.pagespeed\.([a-z]\.)?[a-z]{2}\.[^.]{10}\.[^.]+" { add_header "" ""; }
	location ~ "^/ngx_pagespeed_static/" { }
	location ~ "^/ngx_pagespeed_beacon" { }
	location / {
            root   html;
            index  index.html index.htm;
        }

        #error_page  404              /404.html;
        # redirect server error pages to the static page /50x.html
        #
        error_page   500 502 503 504  /50x.html;
        location = /50x.html {
            root   html;
        }
        # proxy the PHP scripts to Apache listening on 127.0.0.1:80
        #
        #location ~ \.php$ {
        #    proxy_pass   http://127.0.0.1;
        #}
        # pass the PHP scripts to FastCGI server listening on 127.0.0.1:9000
        #
        #location ~ \.php$ {
        #    root           html;
        #    fastcgi_pass   127.0.0.1:9000;
        #    fastcgi_index  index.php;
        #    fastcgi_param  SCRIPT_FILENAME  /scripts$fastcgi_script_name;
        #    include        fastcgi_params;
        #}
        # deny access to .htaccess files, if Apache's document root
        # concurs with nginx's one
        #
        #location ~ /\.ht {
        #    deny  all;
        #}
    }
    # another virtual host using mix of IP-, name-, and port-based configuration
    #
    #server {
    #    listen       8000;
    #    listen       somename:8080;
    #    server_name  somename  alias  another.alias;
    #    location / {
    #        root   html;
    #        index  index.html index.htm;
    #    }
    #}
    # HTTPS server
    #
    #server {
    #    listen       443 ssl;
    #    server_name  localhost;
    #    ssl_certificate      cert.pem;
    #    ssl_certificate_key  cert.key;

    #    ssl_session_cache    shared:SSL:1m;
    #    ssl_session_timeout  5m;
    #    ssl_ciphers  HIGH:!aNULL:!MD5;
    #    ssl_prefer_server_ciphers  on;
    #    location / {
    #        root   html;
    #        index  index.html index.htm;
    #    }
    #}
}
파일을 저장하고 닫습니다.
12. 그런 다음 아래 명령을 실행하여 Nginx 구성 파일의 구문에 오류가 없는지 확인하고, 올바른 경우 아래 출력을 볼 수 있습니다.
sudo nginx -t

nginx: the configuration file /usr/local/nginx/conf/nginx.conf syntax is ok
nginx: configuration file /usr/local/nginx/conf/nginx.conf test is successful
13. 그런 다음 Nginx 서버를 다시 시작하여 최근 변경 사항을 적용합니다.
sudo systemctl restart nginx
5단계: Ngx_pagespeed로 Nginx 테스트
14. 이제 아래 cURL 명령을 사용하여 Ngx-pagespeed가 Nginx와 함께 작동하는지 테스트하세요.
curl -I -p http://localhost

위 헤더를 보지 못한 경우 10단계로 돌아가서 다음 단계에서 Ngx-pagespeed를 활성화하는 지침을 주의 깊게 살펴보세요.
Ngx-pagespeed Github 저장소: https://github.com/pagespeed/ngx_pagespeed
Nginx 웹 서버를 보호하려면 Nginx의 보안, 강화 및 성능 향상을 위한 궁극적인 가이드라는 유용한 튜토리얼을 읽어 보시기 바랍니다.
그게 다야! 이 튜토리얼에서는 Debian 및 Ubuntu에 ngx_pagespeed를 사용하여 Nginx를 설치하는 방법을 설명했습니다. 문의사항이 있는 경우 아래 의견 양식을 사용하여 보내주세요.